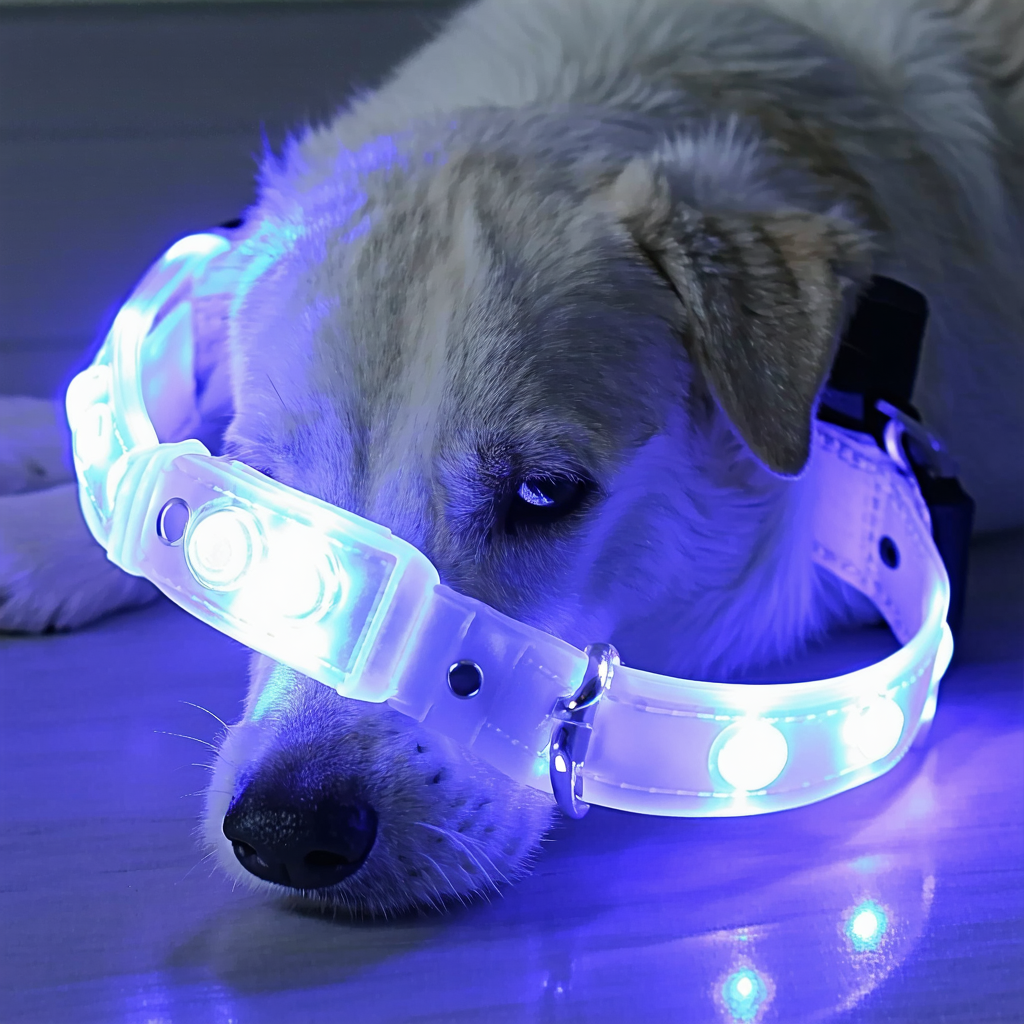
How to Train Your Dog to Wear a LED Collar Comfortably

🐶 Introduction: It’s Not Just About Style — It’s About Comfort
You’ve found the perfect LED collar — bright, stylish, and made for visibility. But what happens when your dog just… doesn’t want to wear it?
Training your dog to wear a light-up collar comfortably is all about positive associations, patience, and a step-by-step approach.
In this guide, we’ll show you how to get even the fussiest pup to love their new glowing accessory.
✅ Why Dogs Might Resist New Collars
New textures, lights, and sounds can confuse or even scare your dog — especially if they’re sensitive to stimuli or not used to accessories. LED collars, with their brightness and flashing modes, can feel overwhelming at first.
Common reactions:
- Pawing at the collar
- Shaking their head
- Trying to remove it
- Freezing or refusing to walk
Good news: All of this is temporary with proper training.
🪄 Step-by-Step LED Collar Training
Step 1: Start with Familiarization (No Lights Yet)
Let your dog sniff and inspect the LED collar while it’s turned off. Leave it near their bed or feeding area for a few hours or days.
🦴 Pro Tip: Rub the collar with your hands or their favorite toy so it smells familiar.
Step 2: Associate the Collar with Rewards
Hold the collar, show it to your dog, and immediately give a treat or verbal praise. Repeat this several times a day. You want the collar to become a happy object, not a threat.
Step 3: Short Try-Ons Inside
Put the collar on for 1–2 minutes indoors (with the lights still off). Don’t walk or stimulate them too much — let them feel it without distraction.
Remove it and reward them again.
Repeat daily, gradually increasing the time to 5, 10, then 15 minutes.
Step 4: Introduce the Lights (Use Slow Flash Mode)
Once your dog is fine wearing the collar, turn on the light in slow flashing mode (it’s less intense). Let them wear it in a calm, familiar environment — like the living room.
Avoid fast flashing until they’re used to it.
Step 5: Practice Indoors and Then Go Outside
Start moving around the house with the LED collar turned on. Encourage play, movement, and short walks.
Once your dog looks comfortable, go for a short walk around the block at dusk. Don’t forget to reward good behavior!
Step 6: Use Consistently and Confidently
Dogs thrive on routine. Make the LED collar part of the walk preparation — just like the leash. After a few weeks, they’ll get excited the moment they see it.
⚡ Common Mistakes to Avoid
- ❌ Turning on flashing lights immediately
- ❌ Forcing the collar on a scared or resistant dog
- ❌ Skipping rewards and positive reinforcement
- ❌ Only using the collar outdoors — practice indoors too
🐾 What Makes Our LED Collar More Comfortable?
At Paws 4 Joy, our collars are designed with training in mind:
- Soft nylon that won’t irritate your dog’s skin
- Lightweight design, even in the battery version
- Easy snap-on buckle for stress-free wear
- Adjustable sizes from XS to L
- Silent operation — no buzzing or humming
🌟 Real-Life Success Story
“Our rescue dog was terrified of everything new. We followed this exact training plan and now he gets excited when we pick up the LED collar!”
– Emily S., Verified Customer
🎯 Bonus: Training Tips for Puppies
- Start with a basic non-LED collar before upgrading
- Use short, happy sessions — no more than 5 minutes for young pups
- Be extra patient — puppies are learning everything for the first time
- Avoid night walks until your puppy is used to the LED collar
🛒 Ready to Get Started?
Explore our full range of LED collars here:
👉 Shop Adjustable, Comfortable LED Collars
Available in multiple sizes and colors. Choose from USB or battery-powered models.
🐕 Final Thoughts
Training your dog to wear a LED collar is a simple, rewarding process that pays off in safety and peace of mind.
Take it slow, keep it positive, and let the glow guide your way.
